
How to Strip and Re-Season a Rusty Cast Iron Pan
How to Strip and Re-Season a Rusty Cast Iron Pan
Cast iron cookware is built to last generations. The heavy, black skillet your grandmother used to fry bacon on a Saturday morning was probably already decades old when she inherited it, and with proper care it could outlast everyone reading this article. But cast iron is also unforgiving of neglect. Leave a pan damp in a cupboard for a few months, store it with a lid trapping moisture, or let it soak in the sink after a Sunday roast, and you will find yourself staring at a surface patchy with rust, flaking seasoning, and the kind of grimness that makes you wonder whether the whole thing is beyond saving.
It almost certainly is not. Rust on cast iron is surface damage, not structural failure. Even a pan that looks like it was dragged out of a canal in Birmingham can, in most cases, be fully restored to a better-than-new cooking surface. This guide walks you through the complete process of stripping a rusty or damaged cast iron pan back to bare metal and building a strong, resilient seasoning from scratch.
Understanding What Seasoning Actually Is
Before you start scrubbing, it helps to understand what you are working with. Seasoning is not a coating in the way paint or enamel is a coating. It is the result of a chemical process called polymerisation, in which thin layers of oil are baked onto the iron at high temperature. The oil molecules bond together and to the metal surface, forming a hard, hydrophobic layer that protects against rust and provides a degree of non-stick performance.
When seasoning goes wrong — through moisture, soap damage, acidic foods, or simple age — it can lift, flake, crack, or become uneven. Rust forms wherever the bare iron is exposed to moisture and oxygen. The goal of re-seasoning is to strip everything back to clean metal and start the polymerisation process again from the beginning, this time doing it correctly.
What You Will Need
Gather your materials before you begin. You do not need specialist equipment, and most of what is required can be found in any UK hardware shop or supermarket.
- Rubber or nitrile gloves
- Steel wool or a chain mail scrubber
- A stiff-bristled scrubbing brush
- White wine vinegar or distilled malt vinegar
- Washing-up liquid
- Coarse salt (table salt works fine)
- Flaxseed oil, rapeseed oil, or lard (see the seasoning section for details)
- Paper kitchen towels or lint-free cloths
- An oven with a reliable temperature gauge
- Oven gloves or silicone mitts
- Aluminium foil or a baking tray
- Optional: an angle grinder with a flap disc, for heavily pitted or corroded pans
A word on protective equipment: vinegar and scrubbing steel wool are not glamorous hazards, but they can irritate skin and eyes. Wear gloves throughout the stripping process, and work in a well-ventilated space, particularly when heating the pan in the oven as the initial seasoning layers can produce some smoke.
Step One: Assess the Damage
Not all rust is equal. There are broadly three categories of rust you might encounter on a cast iron pan.
Light surface rust appears as orange or brown patches on otherwise intact seasoning. The pan may have been stored damp or left near a humid window. This is the easiest type to address and may not require a full strip — aggressive scrubbing with steel wool and coarse salt, followed by immediate re-oiling, is sometimes sufficient.
Moderate rust means the seasoning has lifted in places and the iron beneath is exposed and corroded across a significant area of the cooking surface. This warrants a full strip and re-season as described below.
Severe rust or pitting means the iron itself has been deeply corroded, leaving behind a rough, cratered surface. This can still be restored, but it will require more abrasive work, more seasoning layers, and more patience. A pan in this condition may take four to six seasoning cycles before it develops a smooth, functional surface. In rare cases where the rust has eaten through the iron — causing thin spots or visible holes — the pan is genuinely beyond rescue.
Step Two: The Vinegar Soak
For moderate to severe rust, start with a vinegar soak. Fill a container large enough to submerge the pan — a plastic storage box or a clean bucket works well — with a mixture of equal parts white wine vinegar and cold water. Submerge the pan and leave it to soak.
This is where many people make a critical mistake: they leave the pan in the vinegar for too long. Vinegar is a mild acid, and while it dissolves rust effectively, it will also begin attacking the iron itself if given long enough. Check the pan every thirty minutes. For lightly rusted pans, one to two hours is usually sufficient. For heavily rusted pans, three to four hours. Do not leave a pan soaking overnight in vinegar — you risk converting a rusty pan into a pitted, etched one.
When you remove the pan from the soak, you should be able to see the rust loosening or already beginning to fall away. Rinse it immediately under running water and move on to scrubbing without delay, because bare wet iron will begin to rust again within minutes.
Step Three: Scrubbing to Bare Metal
Put on your gloves and use steel wool, a chain mail scrubber, or very coarse sandpaper to scrub every surface of the pan — the cooking surface, the sides, the exterior, and the handle. You are aiming for uniformly bare grey metal, with no patches of old seasoning, rust, or discolouration remaining.
Add a generous handful of coarse salt to the cooking surface as you work. Salt acts as an abrasive that helps lift residue without introducing any moisture or chemical contamination. For the exterior and handle, switch to steel wool with a small amount of washing-up liquid.
For pans with severe pitting or scale, you may need to use power tools. An angle grinder fitted with a flap disc can remove heavy corrosion and smooth out pitted surfaces considerably. This is worth doing if the pan has sentimental value or is a high-quality piece — a vintage Lodge skillet, a Crane or Kenrick foundry piece, or an old Le Creuset before they began enamelling their interiors. Take care not to gouge the metal and work in slow, even passes.
Once the pan is uniformly grey and smooth to the touch, wash it thoroughly with hot water and washing-up liquid. Yes, washing-up liquid. At this stage, you have no seasoning to protect, so there is nothing to damage. Rinse until the water runs completely clear.
Step Four: Drying is Non-Negotiable
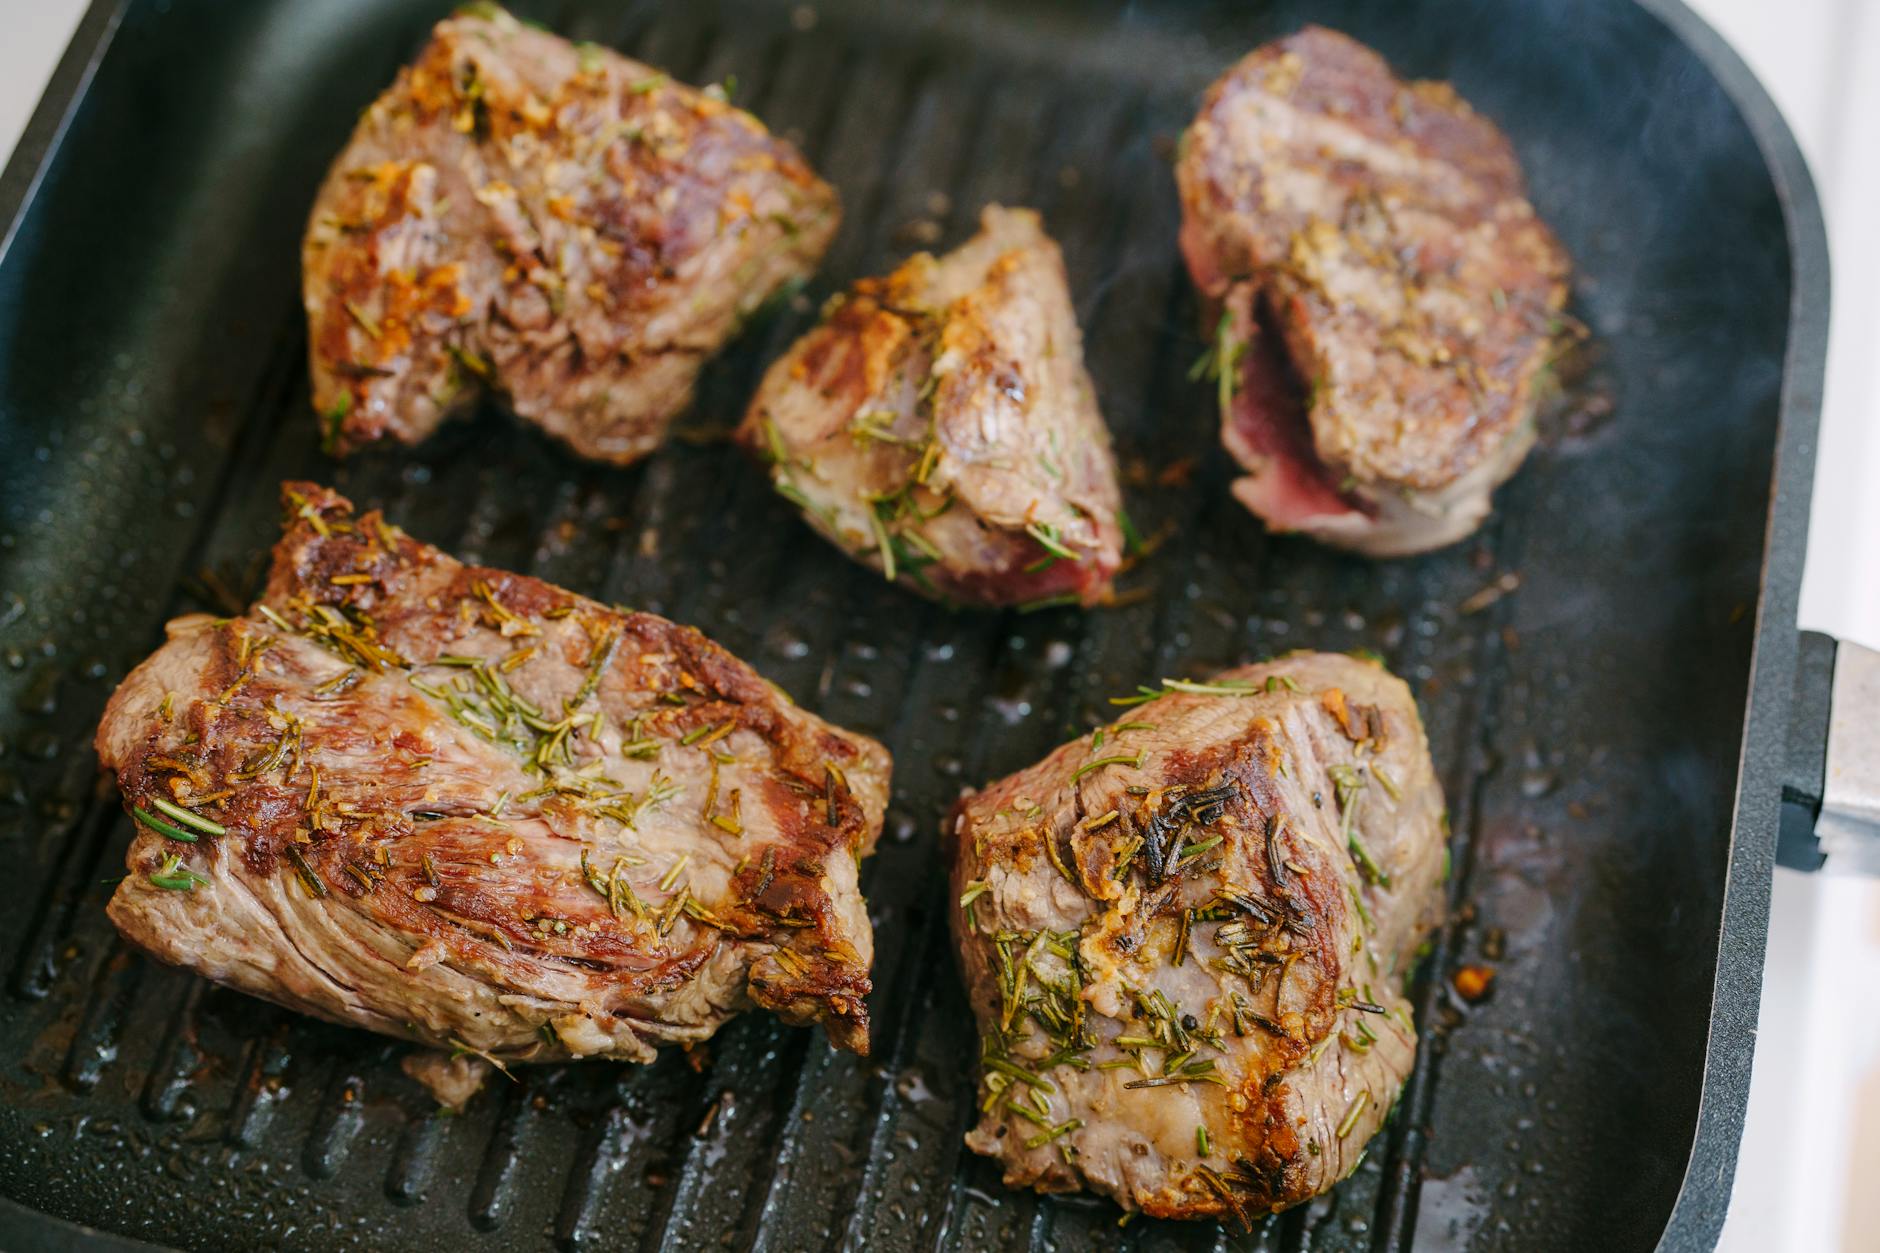
Bare iron and moisture are enemies. After washing, dry the pan immediately and thoroughly with a clean kitchen towel. Then place it on the hob over a medium-high heat and leave it for three to five minutes. You will see any remaining moisture evaporate as steam. The pan should be bone dry and warm to the touch before you apply any oil.
If you skip this step, or if you rush it, you risk trapping moisture beneath your first seasoning layer. This is one of the most common reasons re-seasoning fails — the seasoning looks fine coming out of the oven, but within days or weeks it begins to lift or develops rust spots beneath the surface.
Step Five: Choosing Your Seasoning Oil
There is genuine debate among cast iron enthusiasts about which oil produces the best seasoning, and the answer depends partly on what you value — speed of build-up, durability, smoke point, or natural availability.
Flaxseed Oil
Flaxseed oil (linseed oil in its food-grade form) was popularised by American food writer Sheryl Canter as the scientifically optimal seasoning oil, based on its high proportion of alpha-linolenic acid, which polymerises readily. It produces a hard, glass-like seasoning that looks beautiful. The downsides are that it can be brittle and prone to flaking if the layers are applied too thickly, it is relatively expensive, and it can be difficult to source in small quantities outside health food shops like Holland & Barrett. If you use it, apply it in extremely thin layers.
Rapeseed Oil
Cold-pressed rapeseed oil is produced extensively across the UK — you will find it at farmers’ markets, farm shops, and in supermarkets from producers like Borderfields or Farrington’s Mellow Yellow. It has a high smoke point, is inexpensive, and polymerises well. It does not build up quite as hard a layer as flaxseed oil, but it is durable and forgiving, which makes it an excellent everyday choice for UK cooks.
Lard and Dripping
Traditional beef dripping or lard was historically the most common seasoning material for cast iron in British kitchens, and for good reason. Animal fats polymerise reliably, tolerate high temperatures well, and produce a seasoning with a warm, golden-brown colour. Butchers throughout the UK — particularly independent ones and those operating out of farmers’ markets — can supply good quality beef dripping. It is arguably the most authentic choice for a British kitchen.
Oils to Avoid
Avoid olive oil, butter, coconut oil, and blended vegetable oils. Olive oil and butter have too low a smoke point and will produce a sticky, gummy seasoning rather than a polymerised one. Coconut oil and many blended oils contain compounds that do not polymerise cleanly. Extra virgin olive oil is particularly problematic — it tastes wonderful in food but has no place in a seasoning oven.
Step Six: Applying the Seasoning
Preheat your oven to 220–240°C (or 200–220°C fan). Line the bottom rack with aluminium foil or place a baking tray there to catch any drips.
Using a paper kitchen towel, apply a thin layer of your chosen oil to every surface of the pan — the cooking surface, the sides, the exterior, the handle, everywhere. Then, and this is critical, use a fresh paper towel to wipe most of it off again. The layer you leave behind should look almost invisible. If the pan looks greasy or shiny with oil, you have applied too much.


Hi, I’d like to receive a quote for your services and understand the typical timeline. Please contact me when convenient — happy to share more context. Best regards.
dxmztpienerxxlojeemfwieiisinss
nittpopfifuzrvdekhvgmeudenqwzi