How to Strip and Re-Season a Rusty Cast Iron Pan
How to Strip and Re-Season a Rusty Cast Iron Pan
Cast iron cookware is built to last generations. A pan that has been neglected in a shed, picked up from a car boot sale in Shropshire, or inherited from a grandparent who cooked on it for decades can be brought back to full working order with patience and the right approach. Rust is not a death sentence for cast iron — it is simply iron oxide, and it can be removed. What follows is a thorough, practical guide to stripping a rusty cast iron pan down to bare metal and building up a proper seasoning layer that will protect it for years to come.
Understanding What You Are Actually Dealing With
Before reaching for any tools or chemicals, it helps to understand what cast iron seasoning actually is. Seasoning is not a coating applied from a tin or a spray can. It is polymerised fat — oil or animal fat that has been heated to the point where it bonds with the iron at a molecular level, forming a hard, slick, rust-resistant layer. Over time, with repeated use and proper care, this layer builds up into the dark, near-non-stick surface that makes a well-used cast iron pan such a pleasure to cook on.
When a pan rusts, it means moisture has reached bare metal — either because the seasoning was never properly applied, because the pan was left wet, or because it was scrubbed with harsh detergent that stripped the protection away. In any case, the rust must be removed entirely before new seasoning can be applied. Attempting to season over rust is a waste of time and oil.
It is also worth knowing what kind of cast iron you have. British manufacturers such as Netherton Foundry in Shropshire produce cast iron and spun steel cookware of excellent quality, while older pans might carry the marks of long-defunct foundries from the Black Country, Sheffield, or Scotland. American brands like Lodge are widely sold in the UK too. The method described here works for all of them.
What You Will Need
- Rubber gloves and eye protection
- A stiff wire brush or steel wool (grade 0 or 00)
- White vinegar (distilled, available from most UK supermarkets)
- A large plastic tub or basin
- Washing-up liquid
- Coarse salt (optional, for scrubbing)
- Old towels or kitchen roll
- A conventional oven
- A high smoke point oil — flaxseed, refined rapeseed, or Crisco-style vegetable shortening
- Oven gloves and a tray or sheet of foil to catch drips
A note on oil: flaxseed oil is widely recommended in American cast iron circles, and it does produce a hard initial seasoning. However, it can be prone to flaking with heavy use. Refined rapeseed oil — sometimes labelled as vegetable oil and widely available in UK supermarkets — is a perfectly solid choice. Lard or beef dripping, both traditional British options, also work exceptionally well. Avoid olive oil and butter for seasoning; their smoke points are too low and they go rancid rather than polymerising correctly.
Step One: Assess the Damage
Take the pan outside or to a well-ventilated space and have a close look. Light surface rust — a reddish-orange dusting across the cooking surface — is the easiest to deal with. Deep, pitted rust that has eaten into the metal for years is more serious but still usually recoverable. If the base of the pan is cracked or has a hole in it, no amount of seasoning will help; that pan is beyond practical use. But short of structural damage, virtually any rusty cast iron can be restored.
Run your finger across the surface. If you feel deep pitting, those pits will remain after restoration — the pan will cook perfectly well, but the surface will never be glassy smooth. That is fine. Some of the best-cooking pans in history have had a slightly rough surface.
Step Two: The Vinegar Soak
White vinegar is a weak acid (acetic acid at around 5% concentration) that dissolves iron oxide without damaging the underlying iron — provided you do not leave the pan soaking for too long. This is the most important caveat in the entire process. Over-soaking in vinegar can cause the acid to begin attacking the iron itself, creating new pitting.
Fill your plastic tub with a mixture of equal parts white vinegar and water. Submerge the pan completely. For light surface rust, check the pan after 30 minutes. For heavier rust, an hour is usually sufficient. For a badly neglected pan with thick, flaking rust, you may need up to two or three hours — but do not simply leave it overnight and forget about it. Check it every hour.
To test whether the soak is working, lift the pan out and rub the rusted area with your thumb or a cloth. The rust should come away relatively easily. If it does, drain the vinegar solution and move on. If it does not, return the pan for another 30 minutes, then test again.
Step Three: Scrubbing
Once the vinegar has done its chemical work, the mechanical work begins. Wearing gloves, take your wire brush or steel wool and scrub the entire pan — cooking surface, sides, back, handle, and any recesses or pouring lips. You are looking to remove every trace of rust and any remnants of old, flaking seasoning. This is not a gentle process. Scrub with intention.
For stubborn spots, a paste of coarse salt and a small amount of water provides additional abrasion. Some people use an angle grinder fitted with a wire cup brush for very heavily rusted pans; if you have one and feel confident using it safely, it dramatically cuts the time involved. For most domestic restorations, however, elbow grease and steel wool are entirely sufficient.
When you are satisfied that all the rust and old seasoning have been removed, the pan will look grey or silver — bare cast iron. It may have a slightly dull, matte appearance. This is correct.
Step Four: Washing and Drying
Wash the pan thoroughly with hot water and washing-up liquid. Yes, washing-up liquid. This is the one moment in cast iron care where soap is not only acceptable but necessary. You need to remove the vinegar residue and any loose particles completely. Scrub with a cloth or sponge, rinse thoroughly, and inspect the pan one final time.
Now, the most critical step of the entire drying process: do not simply leave the pan on the draining board. Cast iron rusts with alarming speed once bare metal is exposed to air and moisture. Within minutes of washing, you will see a faint blush of rust beginning to form. Work quickly.
Dry the pan immediately and thoroughly with a clean towel, then place it on the hob over a medium heat. Let it sit on the heat for five to ten minutes, turning it as needed, until all visible moisture has evaporated. You will know it is fully dry when the surface looks uniformly matte and any steaming has stopped. Take it off the heat and allow it to cool until it is warm but comfortable to handle — around the temperature of a hot cup of tea.
Step Five: The First Seasoning Layer
Pour a very small amount of your chosen oil onto the pan — far less than you think you need. A teaspoon is usually enough for a 26cm skillet. Using a clean cloth or a piece of kitchen roll, rub the oil all over the pan: the cooking surface, the sides, the back, the handle, every surface. Then, using a fresh dry piece of kitchen roll, buff the oil back off again. The pan should look almost dry, as though there is barely any oil on it at all. This is correct. A thick layer of oil will not polymerise evenly; it will pool, go sticky, and create a patchy, gummy surface that is worse than no seasoning at all.
Place the pan upside down on the middle shelf of your oven. Put a tray or sheet of foil on the shelf below to catch any drips. Set the oven to 220–240°C (fan assisted is fine). Allow the oven to come to temperature and then bake the pan for one hour.
After one hour, turn the oven off but leave the pan inside as the oven cools. Do not open the door for at least another hour. This slow cooling helps the polymerised layer set properly.
Step Six: Repeat the Process
One round of seasoning produces a thin, functional layer of protection. It is a starting point, not a finished surface. For a pan that will see regular use, repeat the oil-and-bake process three to four times before you cook anything in it. Each layer builds on the last, gradually darkening the pan from grey to bronze to a deep, rich brown-black.
Between each round, allow the pan to cool fully before applying the next thin coat of oil. The entire process — four rounds of seasoning — will take the better part of a day if you factor in oven heating and cooling times. It is not a project to rush.
Cooking Your Pan Into Condition
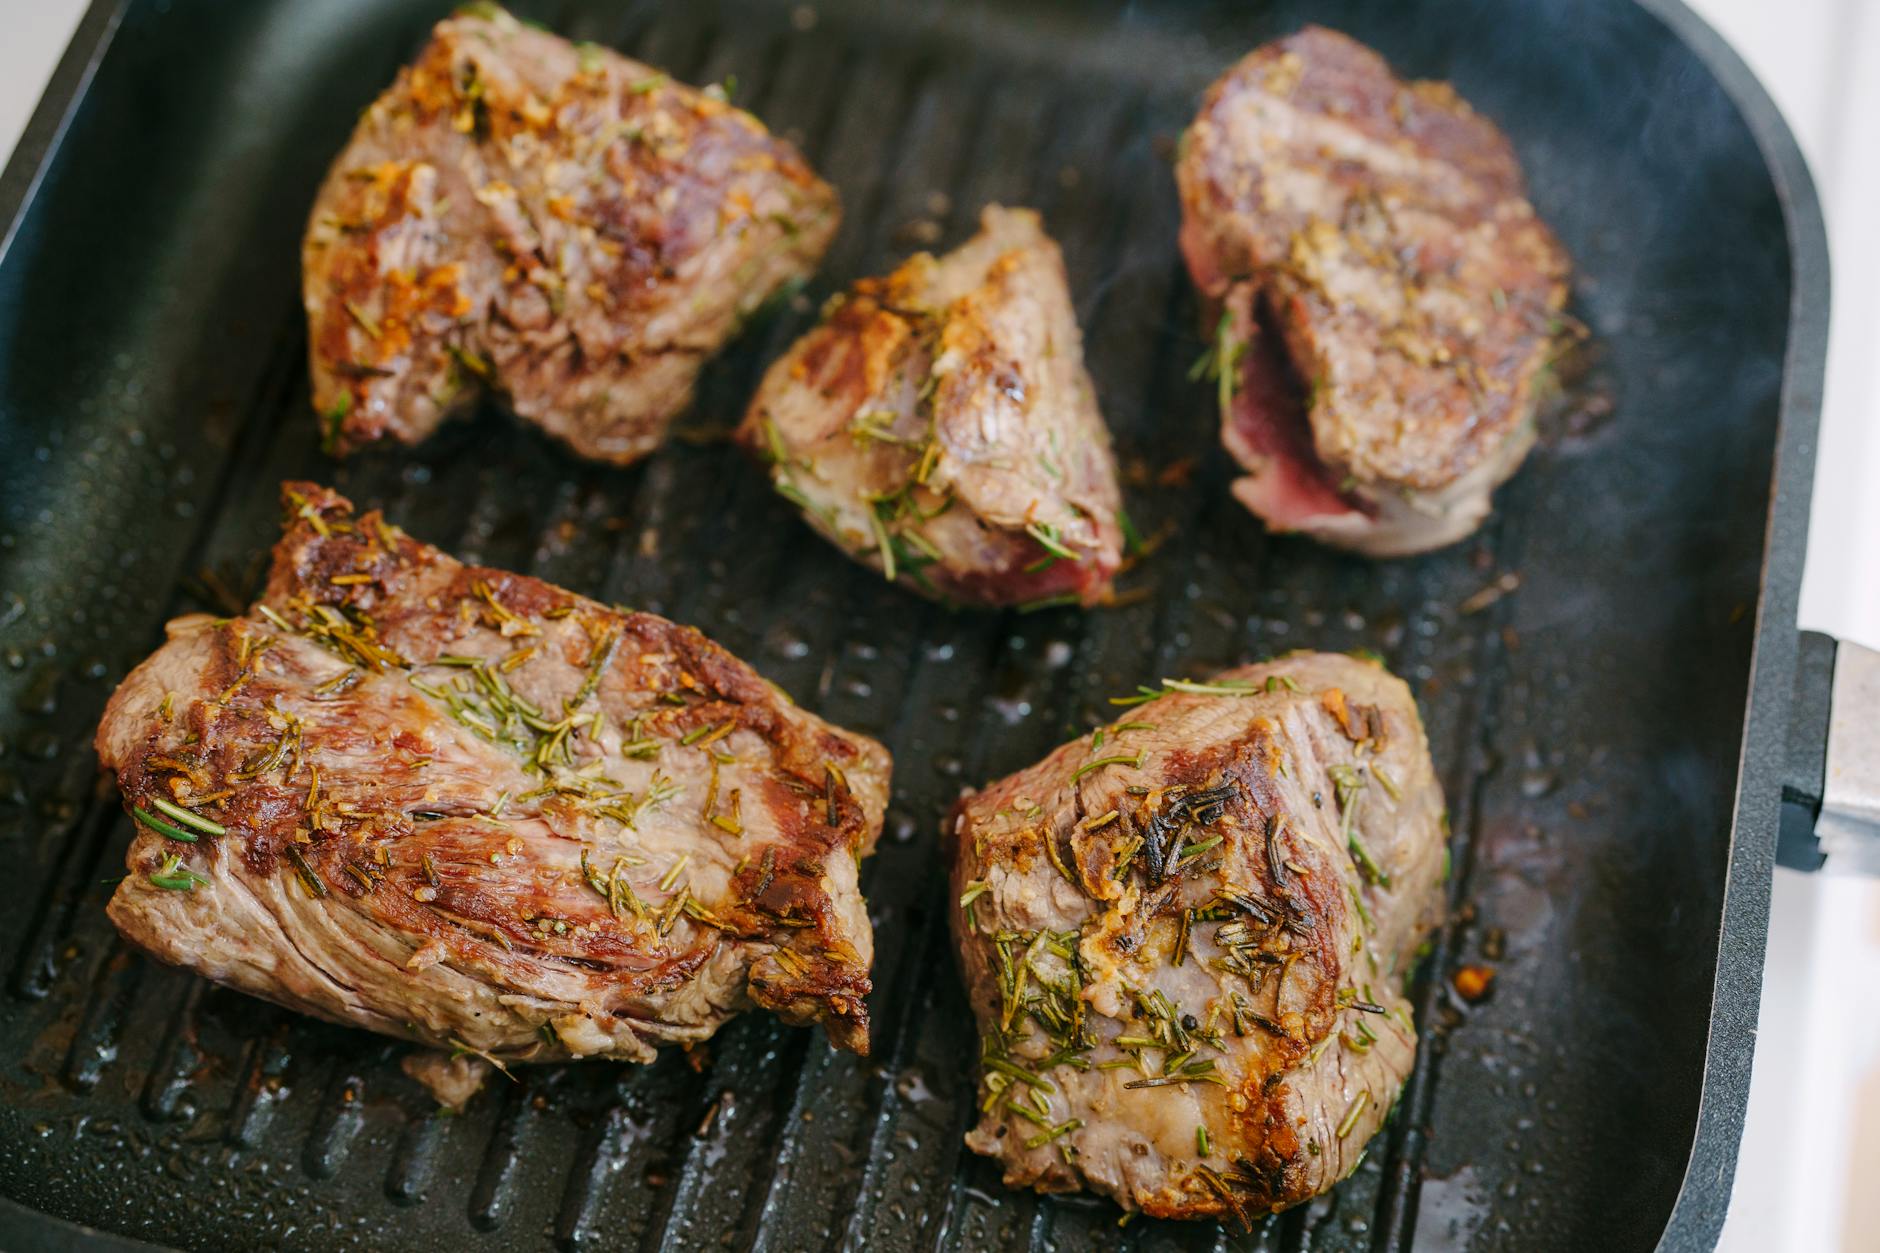
Even after four rounds of oven seasoning, the surface will continue to improve with use. The best thing you can do after the initial seasoning is cook fatty foods in the pan for the first few uses. Bacon is the classic choice — the rendered fat essentially adds another layer of seasoning as you cook. Sausages, fried bread cooked in a little lard, pan-fried lamb chops: all excellent early choices.
Avoid highly acidic foods — tomato-based sauces, dishes cooked with vinegar or wine — for the first several uses. Acid can strip a newly built seasoning layer. After the seasoning is properly established over weeks of regular cooking, the occasional tomato sauce will not cause lasting damage, though you should dry and lightly oil the pan afterwards.
Ongoing Care and Maintenance
After Each Use
While the pan is still warm (not scorching hot, but warm), rinse it under hot water. For light residue, a stiff brush or a pan scraper is


katana