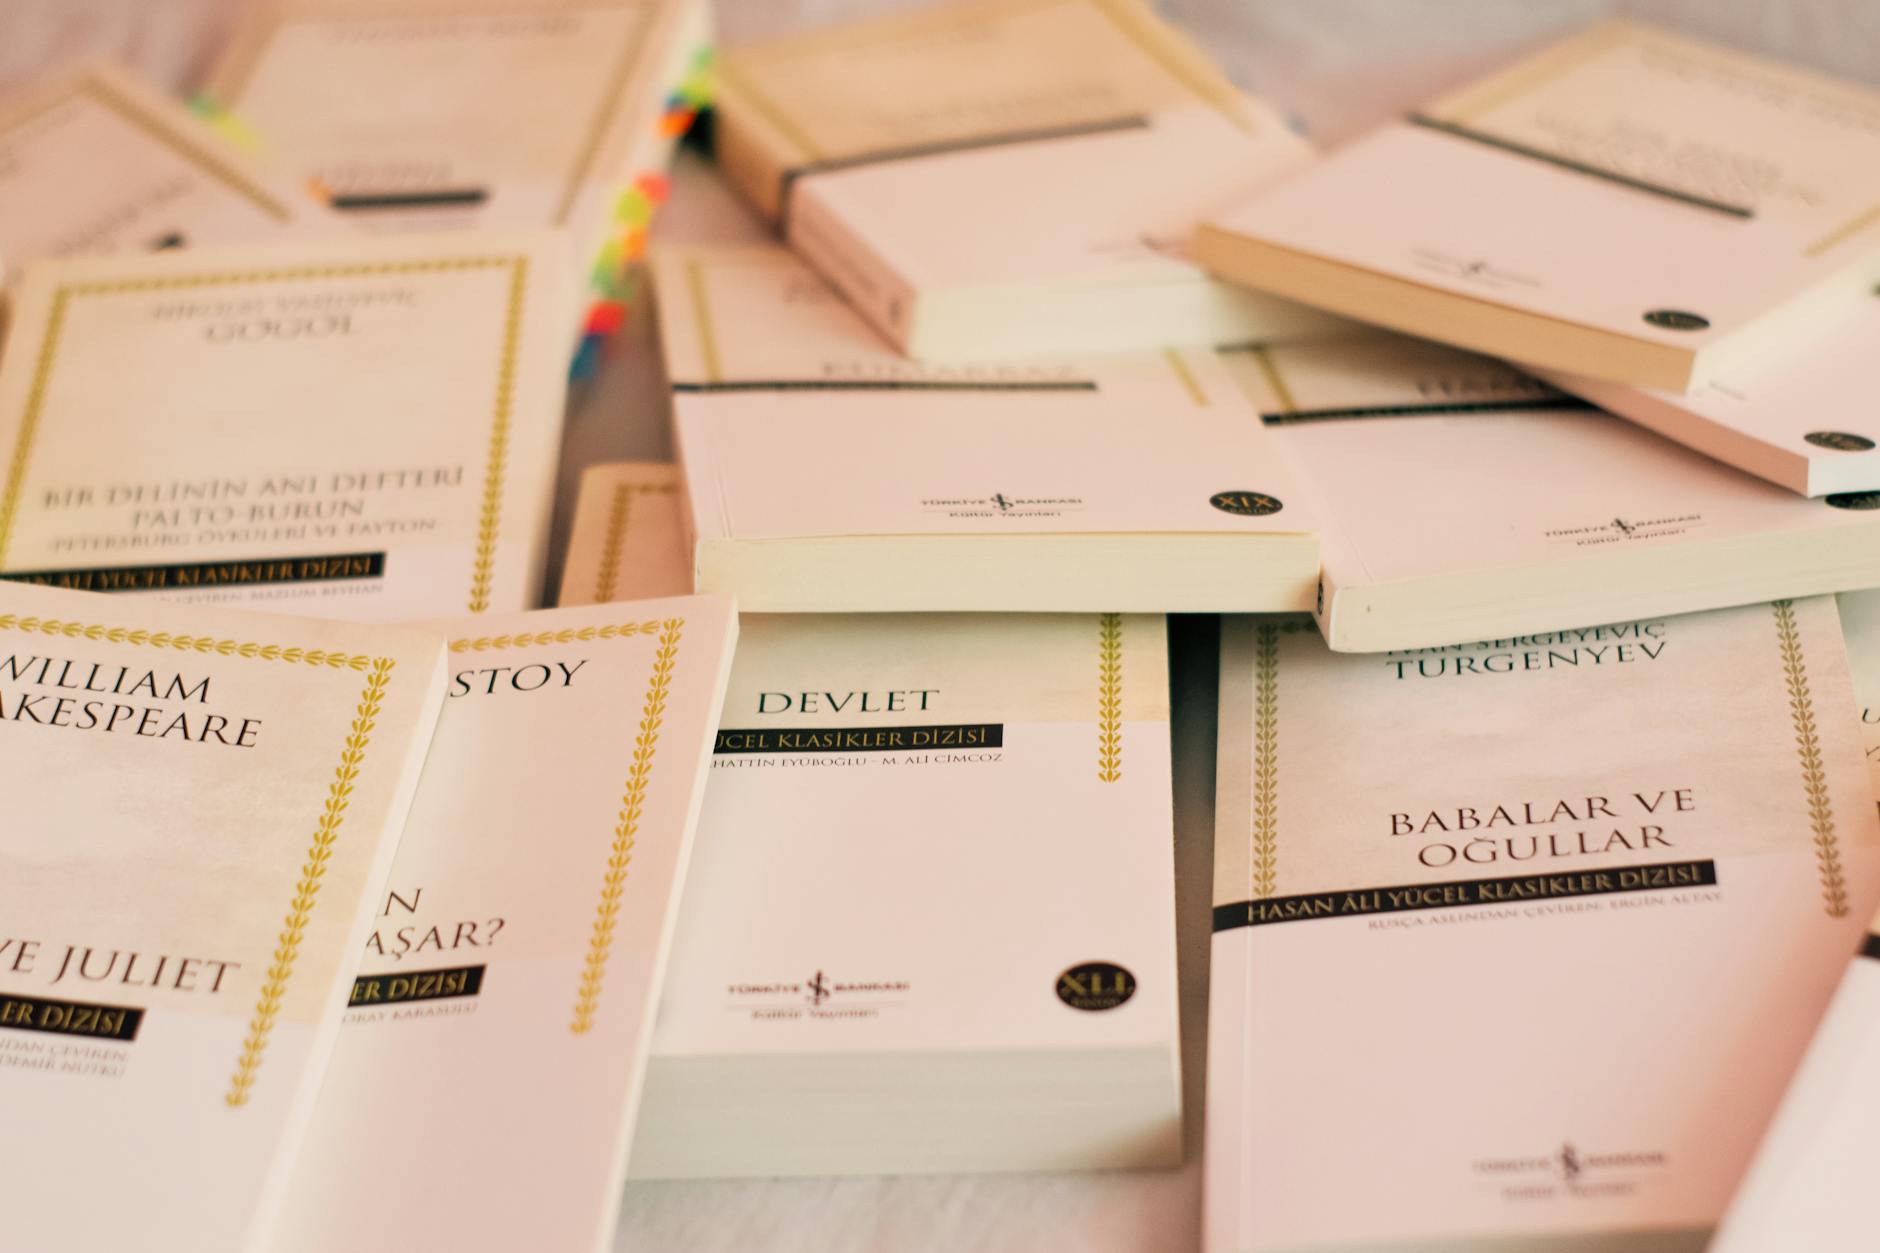
How to Strip and Re-Season a Rusty Cast Iron Pan
How to Strip and Re-Season a Rusty Cast Iron Pan
Cast iron cookware has been a fixture in British kitchens for centuries. From the great iron ranges of Victorian households to the modern kitchen of a home cook in the Welsh valleys or a terraced house in Leeds, a cast iron pan is one of the most enduring pieces of kit you can own. But leave one neglected at the back of a cupboard, inherit a pan from a relative who stored it damp, or pick one up at a car boot sale in a sorry state, and you may find yourself staring at a surface covered in orange rust and flaking residue.
The good news is that a rusty cast iron pan is almost never beyond saving. Unlike stainless steel or non-stick cookware, cast iron can be stripped back completely and rebuilt from scratch. What looks like a ruined piece of kit is, in most cases, just a few hours of work away from being better than new. This guide walks you through the full process — from assessing the damage to building up a solid, long-lasting seasoning that will serve you for years.
Understanding What Seasoning Actually Is
Before you start scrubbing, it helps to understand what you are working with and what you are trying to achieve. Seasoning is not a coating applied to the surface of cast iron in the way paint is applied to a wall. It is a layer — or more accurately a series of layers — of polymerised oil that has bonded chemically to the iron itself through a process called polymerisation. When oil is heated beyond its smoke point on a cast iron surface, it breaks down and reforms into a hard, slick, water-resistant polymer.
A well-seasoned pan will have multiple thin layers of this polymer built up over time, creating a surface that is naturally non-stick, rust-resistant, and highly responsive to heat. When rust appears, it means the seasoning has broken down in places and moisture has reached the bare iron beneath. Stripping the pan means removing all of that degraded seasoning and rust so you can start the polymerisation process again on clean, bare metal.
What You Will Need
Gather your materials before you begin. You do not need anything exotic, and most of what is required is either already in your kitchen or available from any hardware shop.
- Rubber gloves (heavy-duty, not the thin washing-up variety)
- White vinegar — standard household white vinegar from any supermarket works perfectly
- A large plastic basin or bucket big enough to submerge the pan
- Coarse steel wool or a chain mail scrubber
- A stiff brush or scrubbing pad
- Washing-up liquid
- Dry cloths or kitchen roll
- A neutral oil with a reasonably high smoke point — flaxseed oil, vegetable oil, or refined coconut oil all work; avoid olive oil and butter for the initial seasoning layers
- An oven capable of reaching at least 200°C (fan-assisted ovens are ideal)
- Oven gloves or heat-resistant mitts
- Aluminium foil or a baking tray to catch drips
A word on oil choice: there is considerable debate among cast iron enthusiasts about which oil produces the best seasoning. Flaxseed oil was popularised online some years ago and does produce a hard initial layer, but it can be prone to flaking if the layers are applied too thickly. Crisco-style vegetable shortening is popular in North America but less commonly used here. For most British home cooks, a basic refined vegetable oil or lard works extremely well and is readily available. If you want something specific, cold-pressed flaxseed oil from a health food shop such as Holland & Barrett will do an excellent job for the first couple of layers.
Step One — Assessing the Damage
Hold the pan up to good light and examine it carefully. You are looking at a few possible conditions:
- Surface rust: Light orange or reddish discolouration, often rough to the touch. This is the most common and easiest to address.
- Deep pitting: Small craters or pockmarks in the iron itself. This indicates rust has been present for a long time and has etched into the metal. Pitting does not ruin a pan — it just means the surface will never be perfectly smooth — but it can affect how non-stick the final result is.
- Flaking seasoning: Patches of old seasoning that are lifting away from the surface. These need to come off completely before you re-season.
- Structural cracks or warping: A cracked pan cannot be saved and should not be used on a hob. Slight warping may affect how the pan sits on a flat induction or electric hob, but it is still usable on gas. If in doubt, lay the pan on a flat surface and see how much movement there is.
If the pan has only light rust and mostly intact seasoning, you may not need to strip it fully. A vigorous scrub with steel wool and a re-season in the oven might be sufficient. For anything more serious — heavy rust, flaking throughout, or an unpleasant smell suggesting rancid oil — a full strip is the right approach.
Step Two — The Vinegar Soak
White vinegar is a dilute acetic acid and it reacts with iron oxide (rust) to dissolve it. This is the most effective way to remove rust from a cast iron pan without damaging the underlying metal, provided you do not leave the pan in the solution for too long.
Mix equal parts white vinegar and water in your basin. Submerge the pan — or as much of it as possible — and leave it to soak. Check on it every 30 minutes. For light rust, 30 to 60 minutes is usually sufficient. For heavy rust and thick flaking, it may take two to three hours, but do not leave it overnight. Vinegar is effective on rust but will also start to attack the bare iron if the soak goes on too long, and prolonged exposure can cause pitting where none existed before.
While the pan is soaking, you may see the water turning orange as the rust lifts away. This is a good sign. Remove the pan and test the surface with your steel wool. If the rust scrubs away easily, you are ready to move on. If it is still firmly attached, return the pan to the soak for another 30 minutes and test again.
Step Three — Scrubbing and Cleaning
Once the rust has been loosened by the vinegar, put on your rubber gloves and get to work with the steel wool. Scrub the entire surface of the pan — inside, outside, the base, the handle, everywhere. You are aiming to remove all traces of rust and any remaining old seasoning. The pan should end up looking dull grey and completely uniform. Any orange patches mean rust is still present and needs more attention.
Do not worry about being too aggressive here. You are working on cast iron, not a delicate non-stick coating. Steel wool and elbow grease will not harm the metal. If you have a particularly stubborn patch of old seasoning, a small amount of washing-up liquid can help break it down.
Once you are satisfied that the surface is clean, wash the pan thoroughly with hot water and washing-up liquid — yes, soap is fine at this stage — and rinse it well. Now move immediately and without delay to the next step, because bare cast iron will begin to form surface rust within minutes of being exposed to air and moisture. Do not leave a stripped cast iron pan sitting wet in your kitchen while you make a cup of tea.
Step Four — Drying the Pan Completely
Dry the pan immediately with a cloth or kitchen roll, getting as much surface moisture off as you can. Then place the pan on your hob over a medium heat for two to three minutes. You will see any remaining moisture evaporate as steam. Move the pan around so the heat reaches the sides and handle. Once all visible moisture is gone and the pan is hot to the touch, remove it from the heat and allow it to cool slightly — just enough that you can handle it safely with oven gloves.
Thorough drying is critical. Any moisture trapped under your first layer of oil will prevent the seasoning from bonding properly and can cause the first layer to flake.
Step Five — Applying the First Layer of Oil
Preheat your oven to 220°C (200°C fan). While it heats, apply a very thin layer of your chosen oil to every surface of the pan — inside, outside, the base, and the handle. Use a lint-free cloth or a piece of kitchen roll to rub the oil in, then use a fresh dry piece of kitchen roll to buff off virtually all of it. The surface should look almost dry. If you can see a wet shine of oil, you have applied too much.
This is the single most common mistake people make when seasoning cast iron: applying too much oil at once. Thick layers of oil do not polymerise evenly. They bake unevenly, become sticky, and eventually flake off. Thin layers — barely there, just enough to coat the metal — polymerise into a hard, smooth finish. It is far better to apply six thin layers than one thick one.
Place the pan upside down in the preheated oven on the middle rack. Put a sheet of aluminium foil or a baking tray on the rack below to catch any oil drips. Bake for one hour.
Step Six — Building Up the Seasoning Layers
After the first hour, turn off the oven and allow the pan to cool inside with the door closed. Do not rush this stage. Once cool enough to handle, bring the pan out and repeat the process: apply a tiny amount of oil, buff almost all of it off, bake for an hour. A minimum of three to four layers is needed to build a functional seasoning. Six layers will give you an excellent surface. Some cast iron devotees apply eight or more layers when starting from scratch.
You can do multiple rounds on the same day, allowing the pan to cool between each session, or spread the process over several days. Cast iron is patient. The seasoning will not degrade if the pan sits on your worktop overnight between sessions.
As the layers build up, you will notice the surface darkening from grey to brown to a deep, matte black. This darkening is the seasoning developing. A fully seasoned pan should be uniformly black and slightly shiny — not wet-looking, but with a gentle lustre.
The First Few Uses After Re-Seasoning
A freshly re-seasoned pan benefits from gentle use in the beginning. The seasoning layers are present but not yet hardened through cooking use. For the first few meals, choose forgiving foods that will help build up the seasoning further rather than stress it.
Frying bacon or sausages is ideal