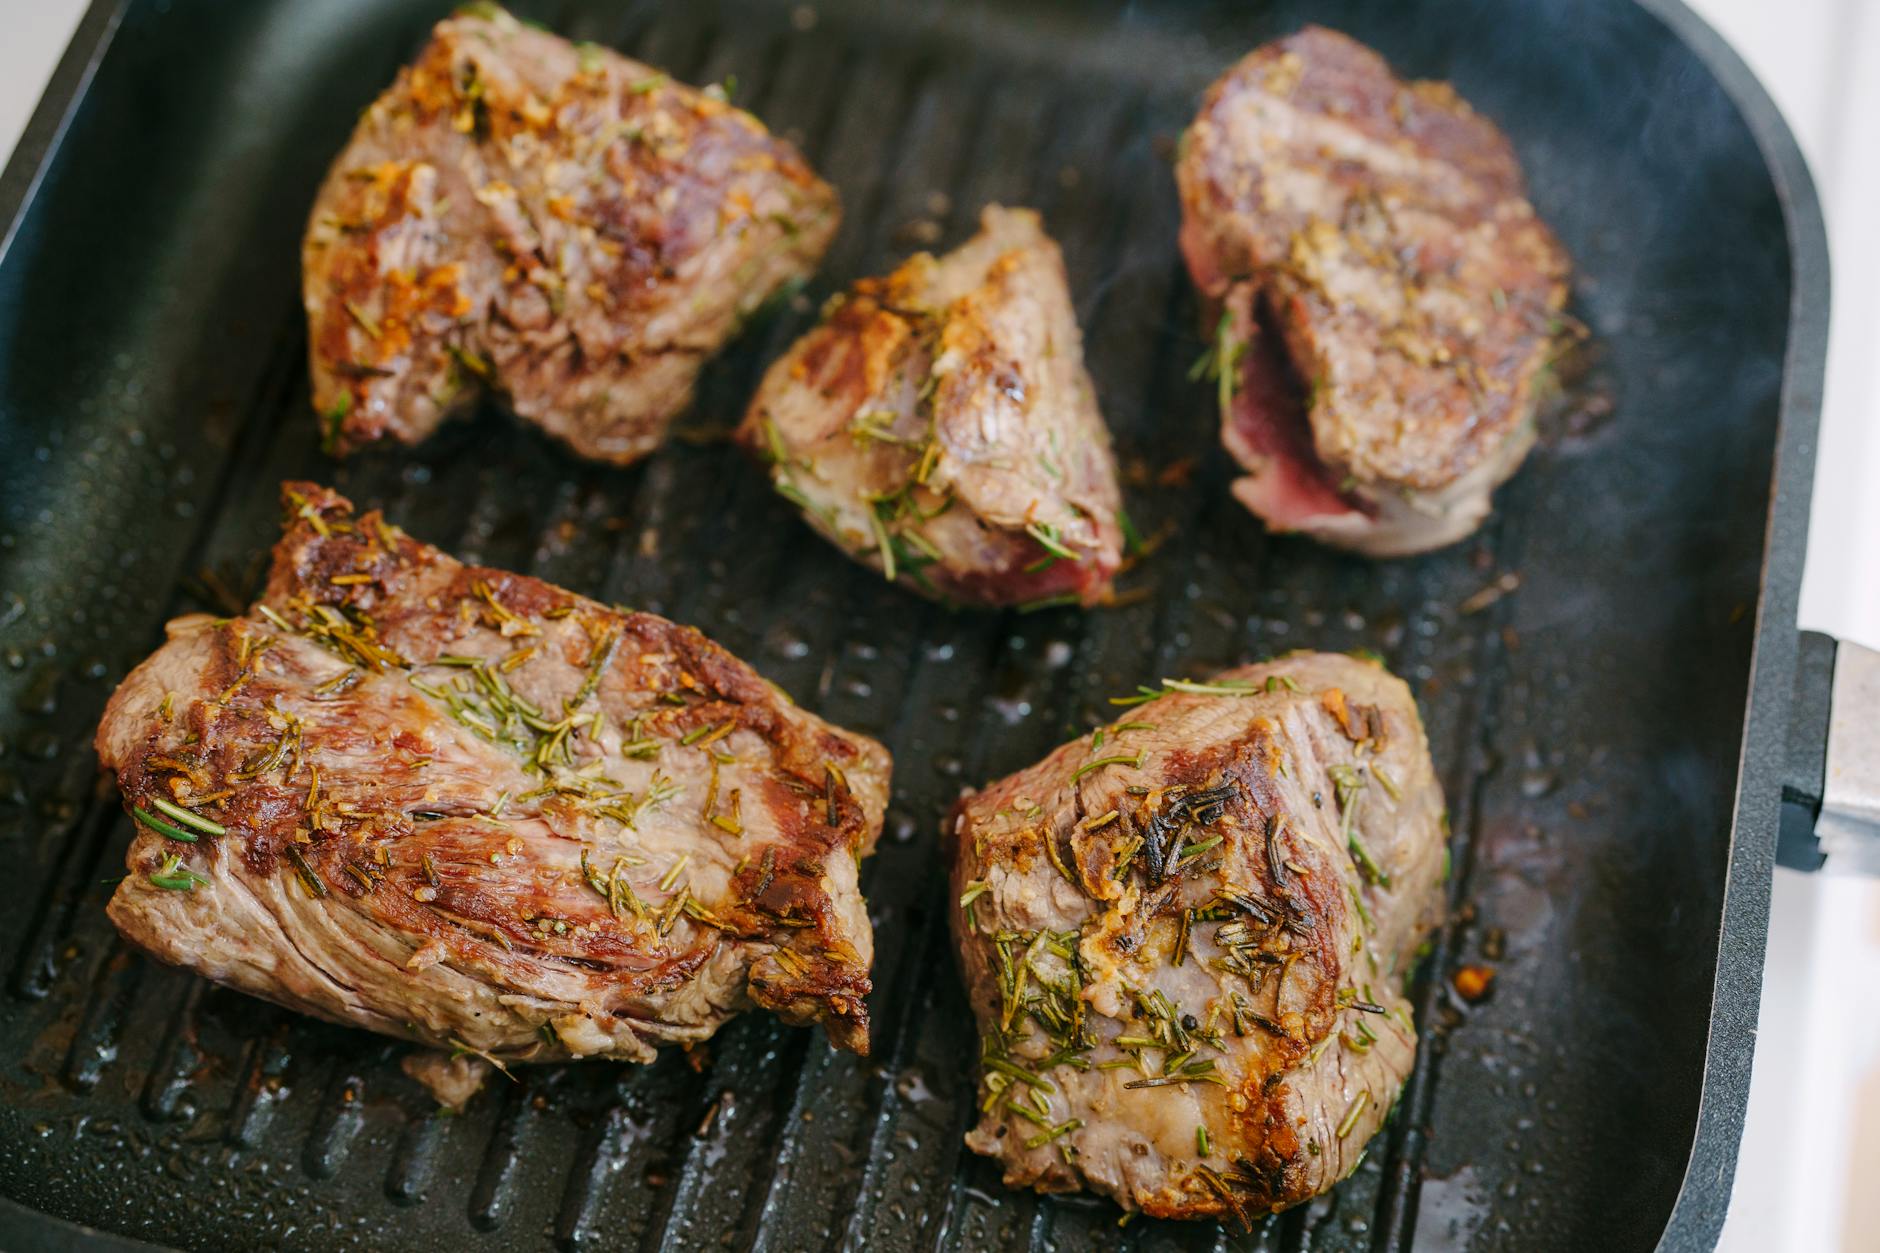
How to Strip and Re-Season a Rusty Cast Iron Pan
How to Strip and Re-Season a Rusty Cast Iron Pan
Cast iron cookware has been a fixture of British kitchens for centuries. From the heavy skillets hanging in the hearths of Victorian farmhouses to the beloved pans passed down through generations in Welsh and Scottish households, cast iron carries a particular kind of history that no non-stick coating can replicate. But cast iron is also unforgiving when neglected. Leave a pan damp in a cupboard for a few months, store it without drying it properly after washing, or inherit one that has spent years in a garage, and you will find yourself staring at a crusty, orange-brown mess that looks beyond saving.
It is not beyond saving. Not even close.
Restoring a rusty cast iron pan is one of the most satisfying projects a home cook can undertake, and the process is far more straightforward than most people expect. This guide will walk you through every stage: assessing the damage, stripping the pan back to bare metal, and building up a fresh seasoning that will make it perform better than it ever has. Whether you are working with a century-old Kenrick skillet you found at a car boot sale in Shropshire or a modern Lodge pan that has been left to fend for itself, the method is essentially the same.
Understanding What Rust Actually Is
Before reaching for a wire brush, it helps to understand what you are dealing with. The rust you see on cast iron is iron oxide, formed when iron reacts with oxygen and moisture. Cast iron is particularly susceptible because it is porous — unlike stainless steel, which has chromium to form a protective oxide layer, cast iron has no such defence. A layer of polymerised fat (what we call seasoning) is its only shield.
Surface rust — the kind that makes a pan look orange or reddish-brown but leaves the metal fundamentally intact — is entirely fixable at home. Deep pitting, which occurs when rust has been left for very long periods and has eaten into the iron itself, is harder to deal with but rarely means the pan is ruined. As long as the pan is structurally sound (no cracks, no warping that cannot be tolerated), it can be brought back.
Run your finger along the rusted surface. If it comes away orange and the underlying surface feels relatively smooth, you are dealing with surface rust. If there are deep craters or the metal feels genuinely pitted, you will need more aggressive stripping but the pan is still likely salvageable.
What You Will Need
Gather your materials before you start. You do not need specialist equipment for most jobs, though there are a few items that make the process significantly easier.
- Wire brush or steel wool: A stiff wire brush or a roll of coarse steel wool (grade 0 or 00) is essential for the initial scrubbing. You can find these at any hardware shop — Screwfix, Toolstation, and most branches of B&Q stock suitable options.
- White vinegar: Standard distilled malt vinegar or white wine vinegar from any supermarket works perfectly. It is mildly acidic and will dissolve rust without damaging the iron if used correctly. Do not use it undiluted for long soaks.
- Washing-up liquid: Yes, for this job specifically, washing-up liquid is your friend. We will discuss why later.
- A large basin or bucket: Big enough to submerge the pan.
- Oven: A domestic oven is all you need for the reseasoning process.
- Seasoning oil: More on the choice of oil shortly, as this matters considerably.
- Lint-free cloths or paper kitchen roll: For applying oil without leaving fibres behind.
- Rubber gloves: Optional but recommended — vinegar and rust are not pleasant on the hands after extended exposure.
- A potato and coarse salt: An old-fashioned but effective scrubbing combination for lighter rust.
Step One: Initial Assessment and Dry Scrubbing
Start by taking the pan outside or to a well-ventilated area and giving it a thorough dry scrub with your wire brush or coarse steel wool. Work in circular motions, applying firm pressure. You are trying to remove loose rust, flaking old seasoning, and any debris from the surface. This step is unglamorous and dusty, but it makes the vinegar soak more effective by exposing as much rusted metal as possible.
If the rust is genuinely light — perhaps the pan has only been neglected for a few months and shows just a faint orange blush — you may find that this step alone, combined with a scrub using half a raw potato dipped in coarse salt, removes most of the rust. The oxalic acid in the potato reacts with the iron oxide while the salt acts as an abrasive. Rinse thoroughly and inspect. If the result is a clean, dark grey or black surface, skip ahead to the drying and reseasoning steps. If significant rust remains, proceed to the vinegar soak.
Step Two: The Vinegar Soak
Mix a solution of equal parts white vinegar and water in your basin — a 50/50 ratio is important. Using undiluted vinegar, or leaving the pan in the solution for too long, risks the acid attacking the iron itself rather than just the rust, which can cause pitting. Submerge the pan completely and set a timer.
Check the pan every 30 minutes. For light to moderate rust, you will often find the job is done within one to two hours. For heavily rusted pans, it may take three to four hours. Resist the temptation to leave it overnight — this is a common mistake that can do real harm to the metal. As the vinegar works, you will see the solution turning orange-brown, which is exactly what you want.
Remove the pan, rinse it under cold running water, and immediately scrub it with steel wool or a wire brush while it is still wet. The rust should come away far more easily now. Work over the entire surface, inside and out, paying particular attention to any areas of deep discolouration. Rinse again and inspect in good light. If rust remains in specific areas, you can return those spots to the vinegar solution for a further short soak, though try to keep unaffected areas out of the liquid.
Step Three: Washing and Drying
This is the one and only time in a cast iron pan’s life when you should wash it with washing-up liquid and really mean it. Apply a good squirt of washing-up liquid, scrub the pan thoroughly with a brush or scouring pad, and rinse it clean. You are removing vinegar residue, loosened rust particles, and any remaining contamination from the surface. Getting the pan truly clean at this stage is essential — any residue left behind will be baked into the new seasoning.
Now, critically: dry the pan immediately and completely. Cast iron begins to show flash rust within minutes of being wet and exposed to air. Dry it first with a clean cloth, then place it on a hob over a medium heat for three to five minutes, turning it so the heat reaches the sides and handle. You will see any remaining moisture evaporate as steam. Keep it on the heat until the pan is bone dry and has warmed through — it should feel hot to the touch (use a cloth to handle it).
Do not skip this drying step or rush it. A pan that goes into the oven for seasoning with even a trace of moisture will develop rust spots under the new seasoning, and you will be back to square one.
Step Four: Choosing Your Seasoning Oil
The choice of oil is one of the most debated topics in cast iron circles, and the debate is worth understanding. Seasoning works by polymerisation: when oil is heated beyond its smoke point, the fat molecules break down and bond together, forming a hard, plastic-like layer on the iron. The key factors are the oil’s smoke point and its level of polyunsaturated fat.
Oils high in polyunsaturated fats polymerise most readily and create the most durable seasoning. Flaxseed oil has become popular for this reason — it has a very high polyunsaturated fat content and polymerises aggressively. You can find it in health food shops such as Holland & Barrett and many independent wholefood shops across the UK. However, some cooks find flaxseed seasoning prone to flaking if applied too thickly.
Refined rapeseed oil is an excellent and very accessible British alternative. It has a reasonably high smoke point (around 204°C for refined versions), is inexpensive, and produces a good, durable seasoning. Most British supermarkets sell it under various labels. Vegetable shortening (such as Trex, widely available in UK supermarkets) is another traditional choice and works very well, particularly for initial seasoning coats.
Avoid olive oil